Vickers’ Hardness Test Equipment’s Operation Manual
Initiators: Robert L. Smith and George E. Sandland at Vickers Ltd established The Vickers hardness equipment in 1921 as a substitute to the Brinell technique to quantify the hardness of materials.
Benefit of Vickers Hardness Equipment: The Vickers hardness equipment is a lot easier to employ than other hardness tests as the needed calculations are autonomous of the size of the indenter, and the indenter can be utilized for all materials regardless of hardness. The simple concept, alike with other methods, is to detect the examined material’s capability to repel plastic distortion from a standard foundation. The Vickers test can be utilized for every metal and has one of the extensive scales among hardness equipments.
Unit: The unit of hardness specified by the equipment is recognized as the Vickers Pyramid Number (HV) or Diamond Pyramid Hardness (DPH). The hardness number can be transformed into units of Pascal, but should not be tangled with a pressure, which also has units of Pascal.
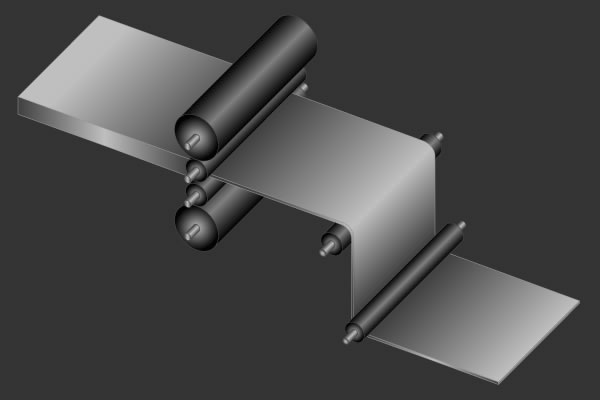
Operating Procedure: The operating procedure for Vickers’ Hardness Equipment is shown step by step along with proper images of each step. The operating procedure starts with:
Step1: Switch on figure 1

Step 2: Press RESET after approximately 5 seconds

Step3: Press setup

Step4: Select Force unit – press button OK

Step5: Select hardness scale – HV or HK – press button OK

Step6: Adjustment of LCD brightness – light or dark – press button OK

Step7: Adjustment of date / time

Step8: If conversion to HR is required – yes or no – Press button OK

Step9: Select test force – Hand wheel on side see figure 9

Step10: Select duration of dwell time. Press dwell button on front panel see figure2. Choose time – 5 second steps – press button OK
• Place test piece on bed see figure 10
Step11: Place 14mm spacer on the top and wind up to microscope barrel as shown above.
• Remove spacer
• Press start button
• Allow the machine to go through the cycle
![]() Step12: View through eye piece (figure 11)
Step12: View through eye piece (figure 11)

• Focus indentation, line inner dark lines to corners of indentation (figure 13)
• Press enter
• Turn eye piece through 90 degree (figure 12)

• Focus indentation, line inner dark lines to corners of indentation (figure 13)
• Press enter
• Move test piece slightly and repeat test operation as above (This can be done as many times as required)
• Press print to get full analysis